VM Image
Preparation
This service supports two types of images:
- Image : Prepare your own VM image and upload it to the Data Storage service.
- Data image: Data images exported via Virtual Volume.
warning
- The maximum size of a VM image file that can be imported is 1.5 TB.
- Supported VM image file formats: raw and qcow2. Common file extensions include .raw, .img, .qcow2, and others.
- It is recommended to use third-party software to upload images, which have larger transfer capacity and faster speed.
Create a VM image
- Select VM Image from the Services list to enter the VM Image Management page, and then click + CREATE.
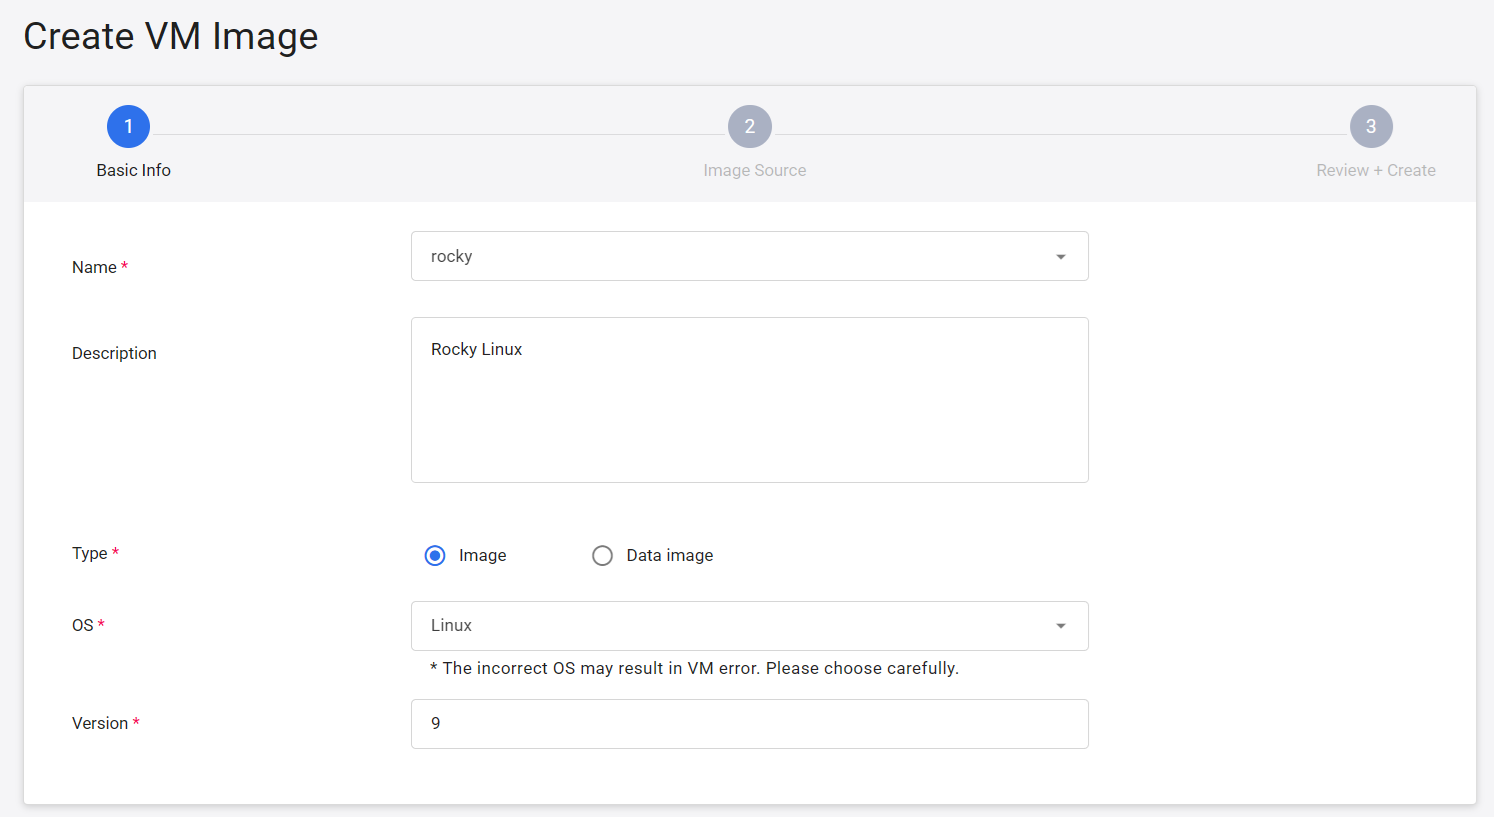
- Complete the settings for creating the VM image and then click NEXT: IMAGE SOURCE>.
- Image Name: Enter a name for the image or select an existing one from the drop-down menu. If you select an existing image name from the drop-down menu, the system will adjust the required settings based on the image type.
- Description: Enter a description.
- Type: Select Image or Data Image.
- Operating System: Select Linux or Windows.
- Version: Enter the version.
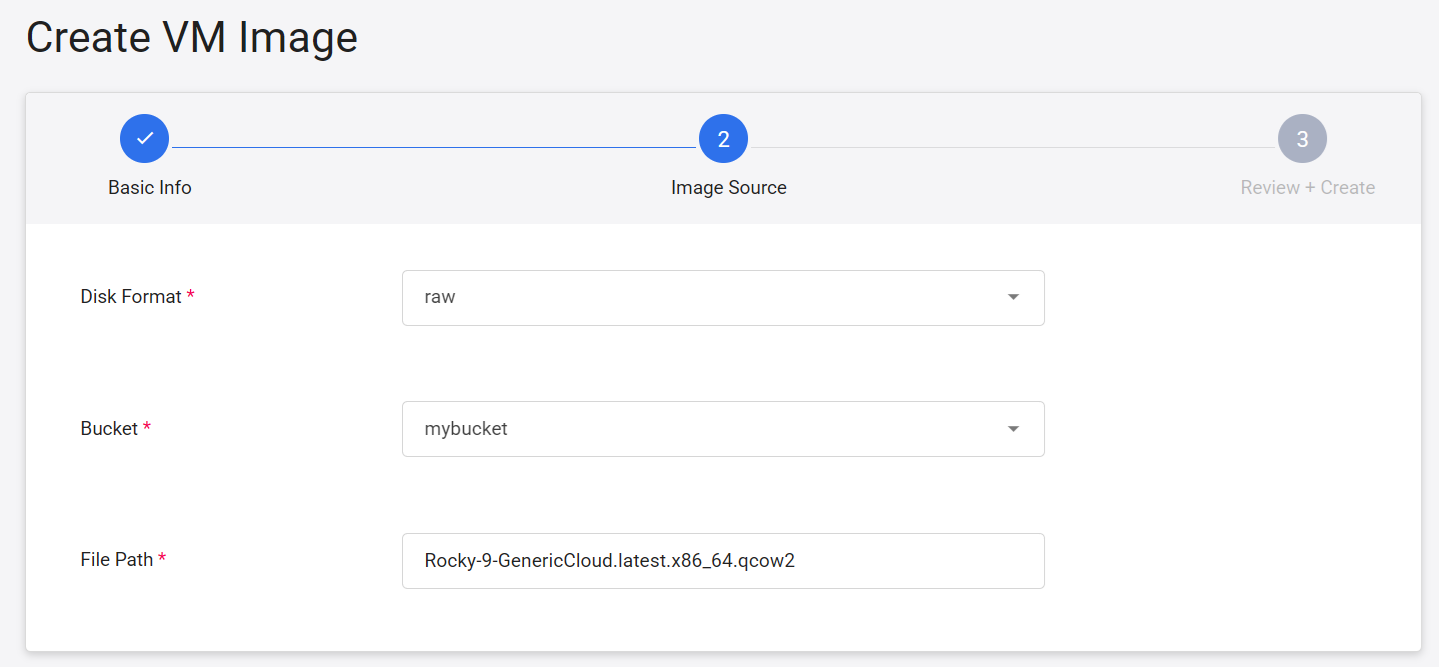
- Set the image format, bucket and file path where the image is located, and then click NEXT: REVIEW + CREATE >.
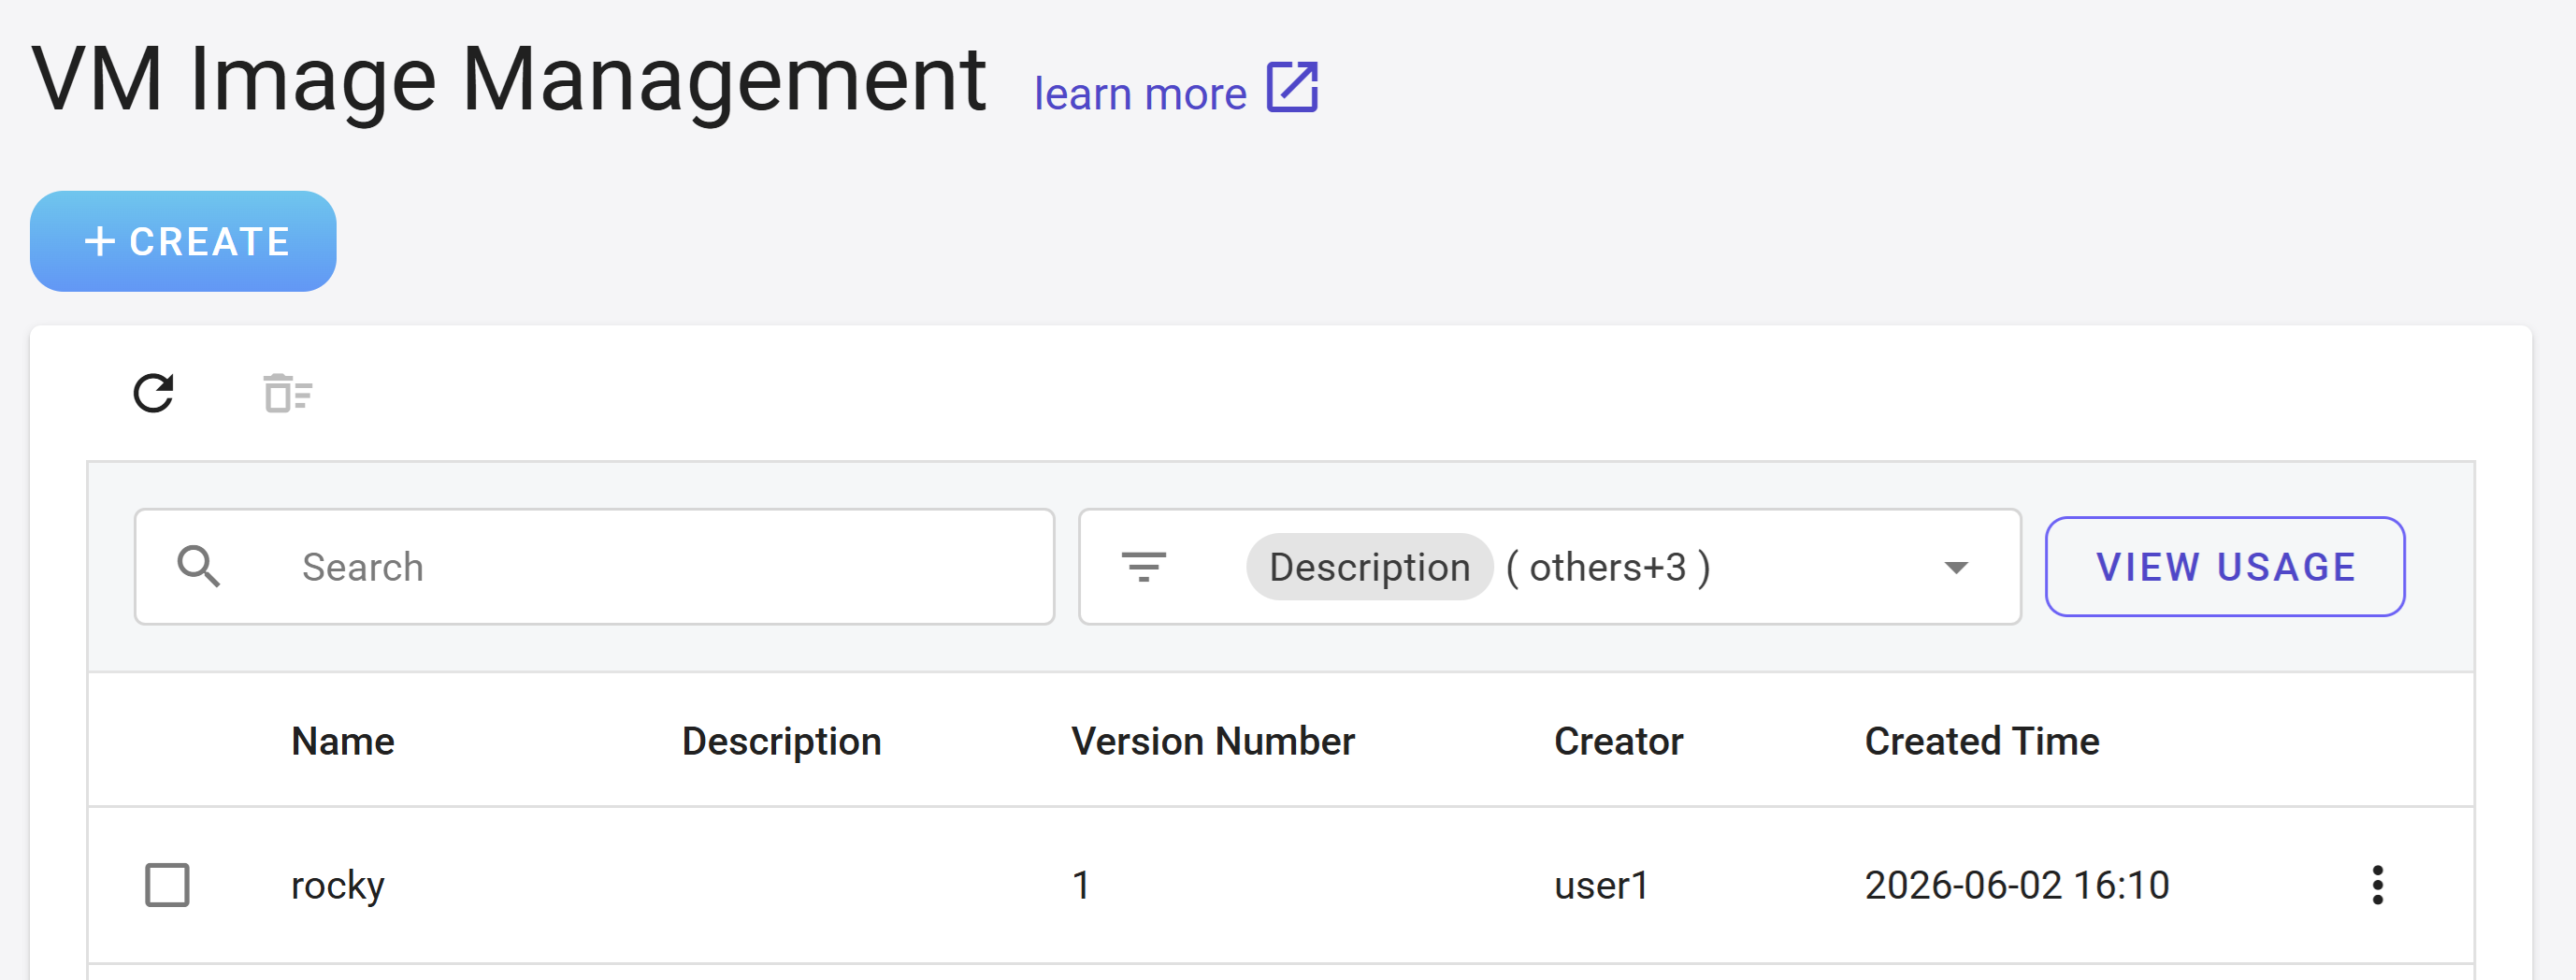
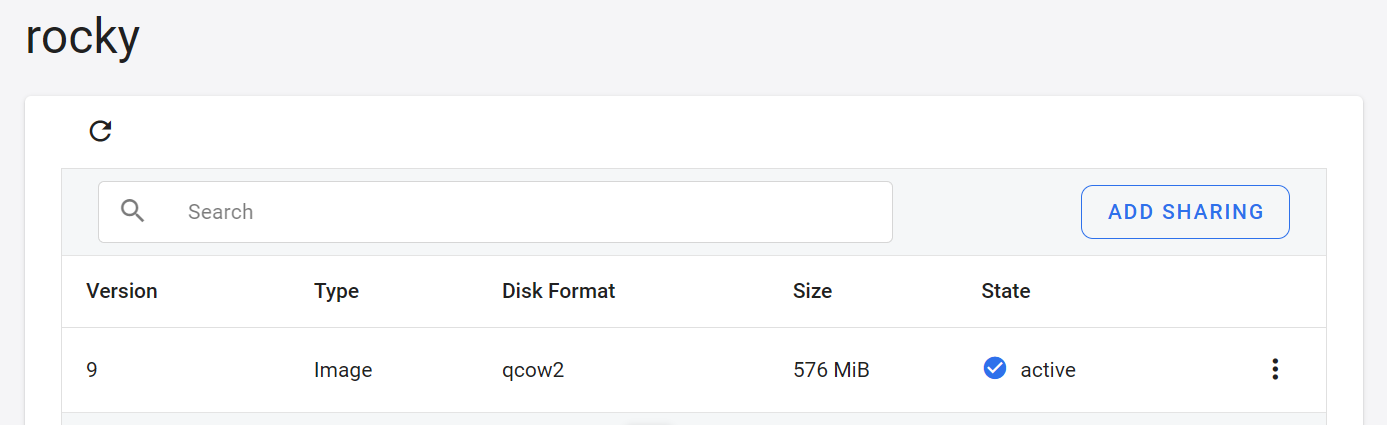
- After the VM Image is created, it will appear in the list. Click the list to enter the VM image version list. It will take a while for the system to prepare the image. Once the state changes to active, you can start using it.
Manage VM images
- Enter the VM image management page to view the VM image list, click on the field name to sort, use smart search, view usage, or delete in batches.
Edit description
- On the management list page, click the more options icon on the right side of the listing, then click Edit Description.
Delete a VM image
- Click the more options icon on the right side of the list, then click Delete. Please note: This VM image and all version under it will be deleted.
View usage
- Click View Usage in the upper right corner of the management page to view the project's storage usage and VM image quota and usage information.
Manage VM image versions
- Enter the VM image version management page to view the VM image version list, click on the field name to sort, use smart search, add new shares, or move the mouse to the more options button on the right side of the list and click Variables, Edit Sharing, Download, Copy ID or Delete.
Add sharing
- You can choose to share a specific VM image version with specific project members.
- Enter the VM image version list page and click ADD SHARING in the upper right corner.
- Click OK after checking the shared versions and sharing members.
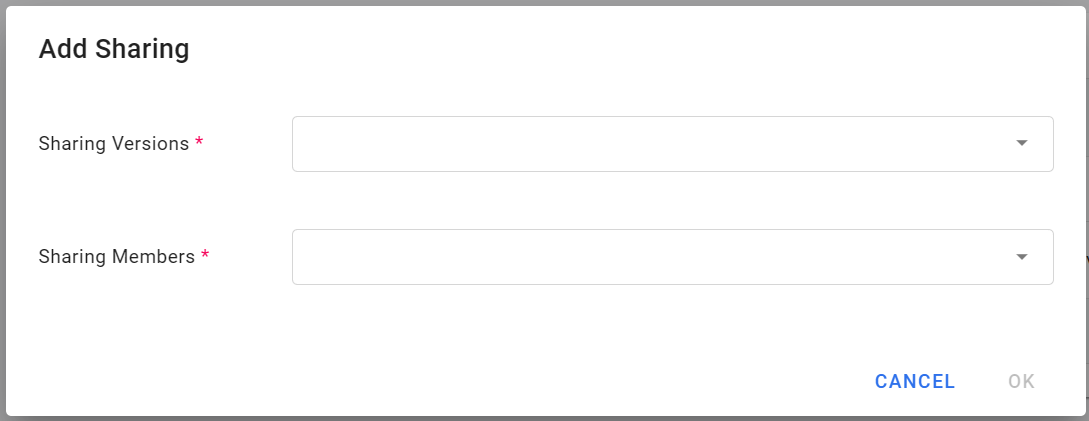
- Members with permission to use this VM image can view, access, edit, and use the image.
Editing sharing
- Click the more options icon on the right side of the list, then click Edit Sharing.
- Edit the members you want to share with and click OK.
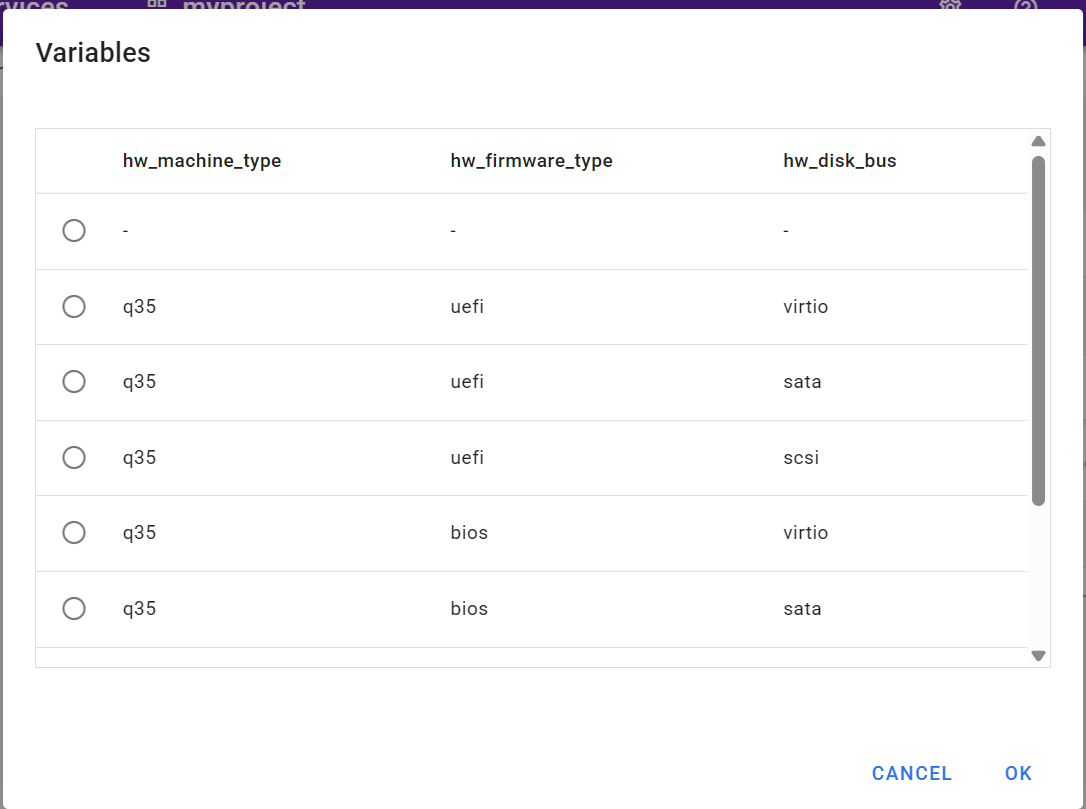
Variables
info
Variable settings are limited to normal VM image and cannot be used for incremental images.
- Click the more options icon on the right side of the list, then click Variable Settings.
- Set the hardware environment variables for the VM image. When you subsequently create a virtual machine using this image, the system will use this default hardware environment. The options in the variable field are as follows; select the desired combination.
info
The hardware specifications and options available in different resource regions may vary.
Deleting a VM image version
- Click the more options icon on the right side of the list, then click Delete.
Download a VM image
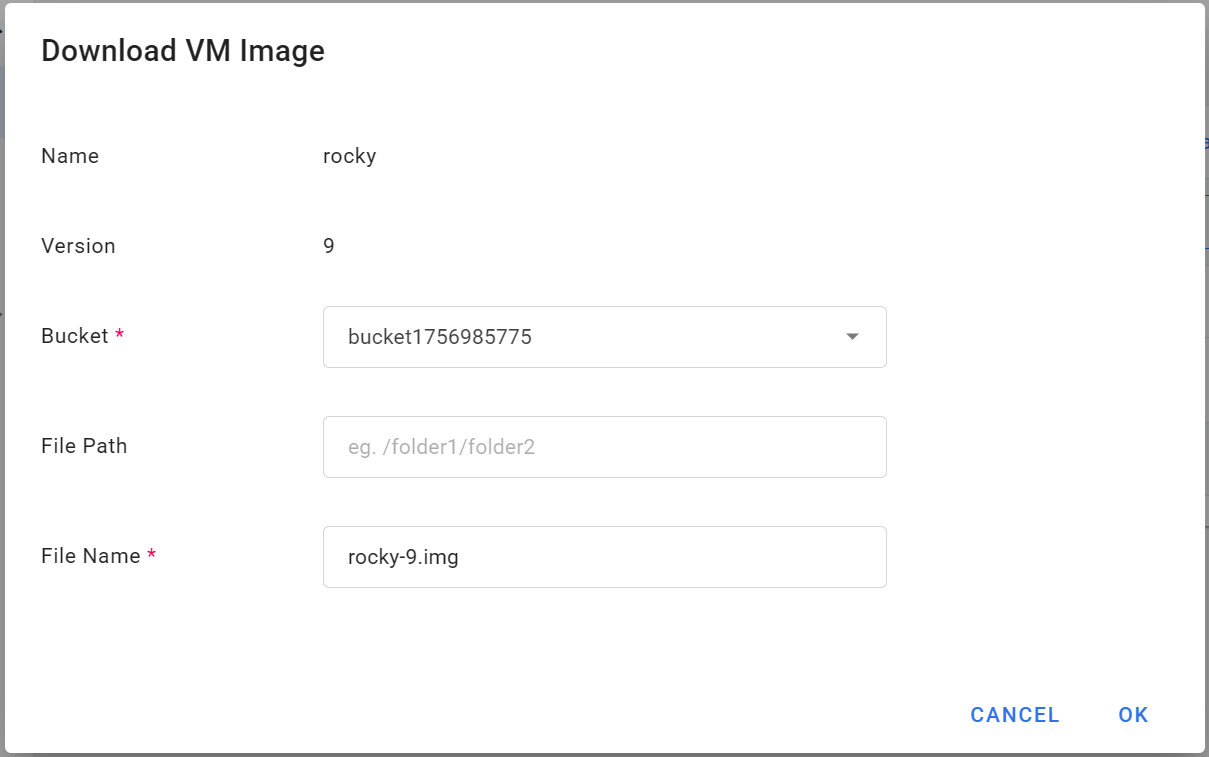
- Click the more options button to the right of the VM image version list, then click Download.
- The downloaded VM image will be stored in the Data Storage service, you can assign the bucket, file path and file name. Complete the settings in the download VM image windows then click OK.
Download record
- Select VM Image from the service list, then click Download Record from the left menu to enter the download history page to view the VM image download history.
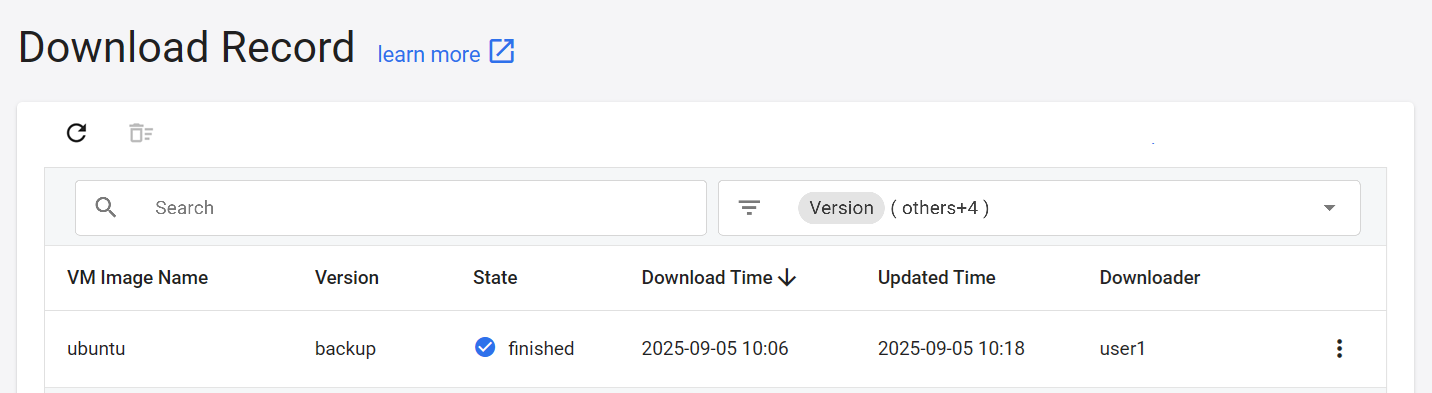
- Click the more options icon on the right side of the list to perform the following functions:
- Open: open the storage location for the VM image.
- Delete: delete the download record.
- Original Data: view and copy the original data of the VM image.