Member Management
Provides user account management and administrator privilege settings.
Member center user
Manage member center users
- Select Global > Member Management > Member Center Member from the left menu.
- Once users are created in the Member Center, they will be displayed in a list. Clicking the More Options icon on the right side of the list allows you to access Project Info and Copy ID.
Testing users
Add a testing user
- Select Global > Member Management > Testing User from the left menu. Once you enter the testing user management page, click ADD.
- Enter the user's username, name, email address, and other information, then click OK.
info
After creating a user account, please remember to add the user to the project to which they belong.
Manage testing users
- Once a testing user is created, it will appear in the list. Click the more options icon on the right side of the list to edit the user, change password, view project information, copy ID, and delete the user.
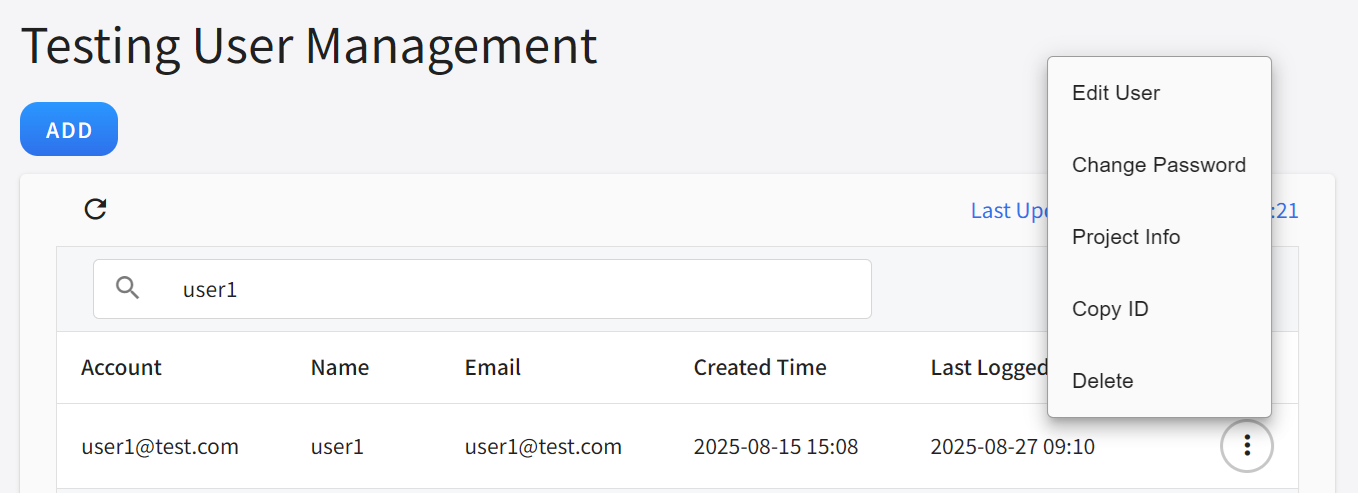
Edit user
- Click the more options icon on the right side of the list, then click Edit User, change the user's name or email address, and then click OK.
info
The user account cannot be modified.
Change password
- Click the more options icon on the right side of the list, then click Change Password, enter the new user's password, and then click OK.
Project info
- Click the more options icon on the right side of the list, then click Project Info.
- The Project Info window displays the projects in which the user account is participating.
Copy ID
- Click the more options icon on the right side of the list, then click Copy ID to copy the ID to your clipboard.
Delete
- Click the more options icon on the right side of the list, then click Delete.
Admin permission
Add admin permission
- Select Member Management > Admini Permission on the left menu. Click ADD on the Admin Permission Management page.
- Enter the user's account number in the Admin List field, separating multiple entries with commas, then click ADD.
- Select the permissions you want to add (Platform Administrator, System Administrator) and click OK.
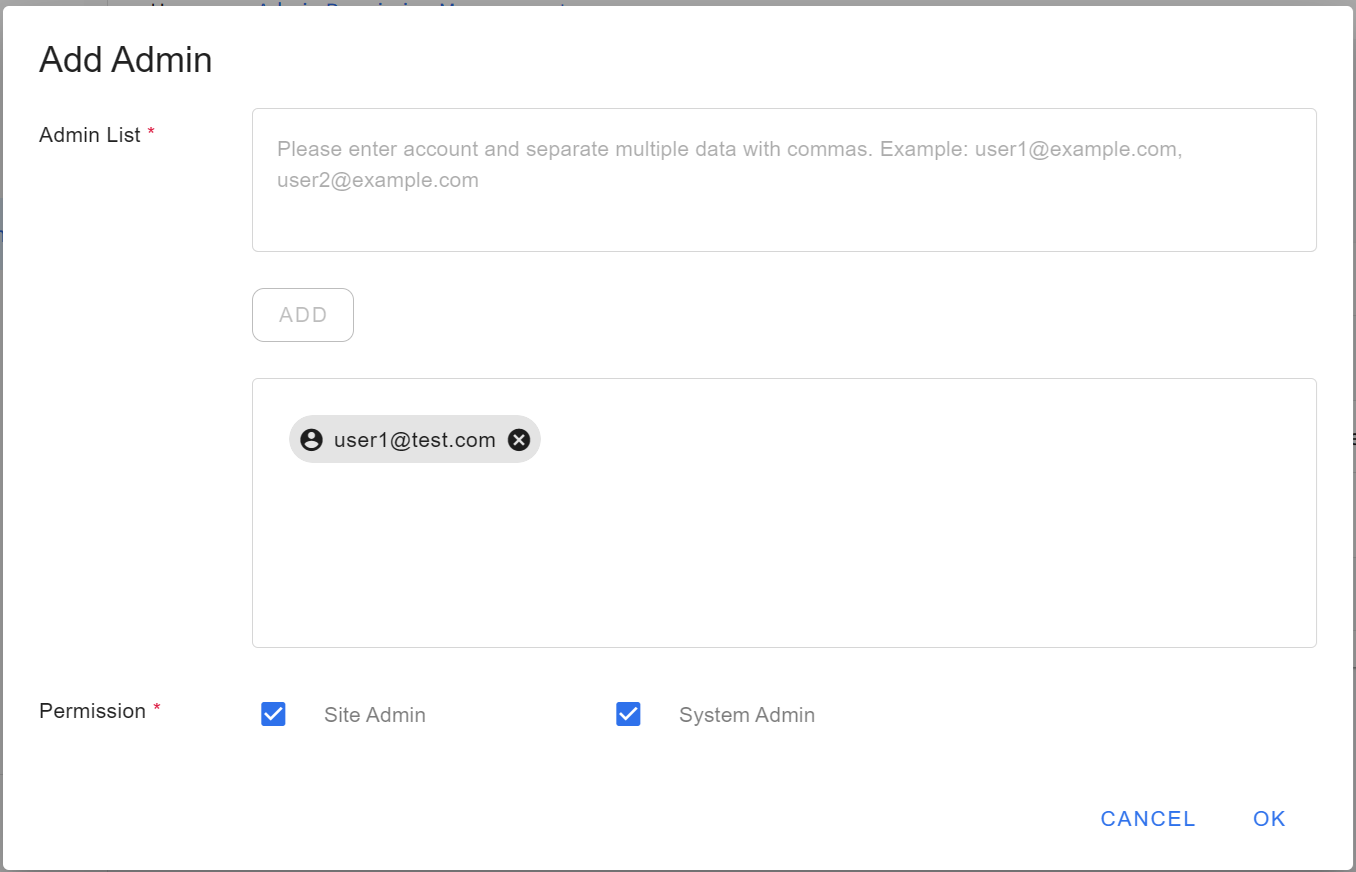
Manage administrator permission
- Once administrator permissions are created, they will appear in a list. Click the more options icon on the right side of the list to Config Permission and Delete them.
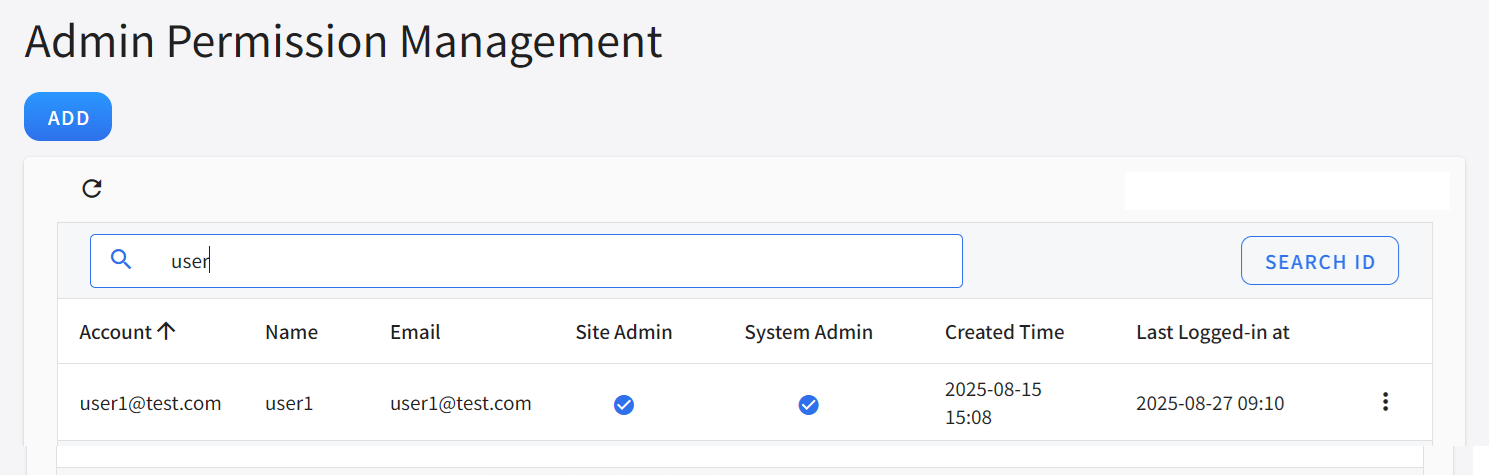
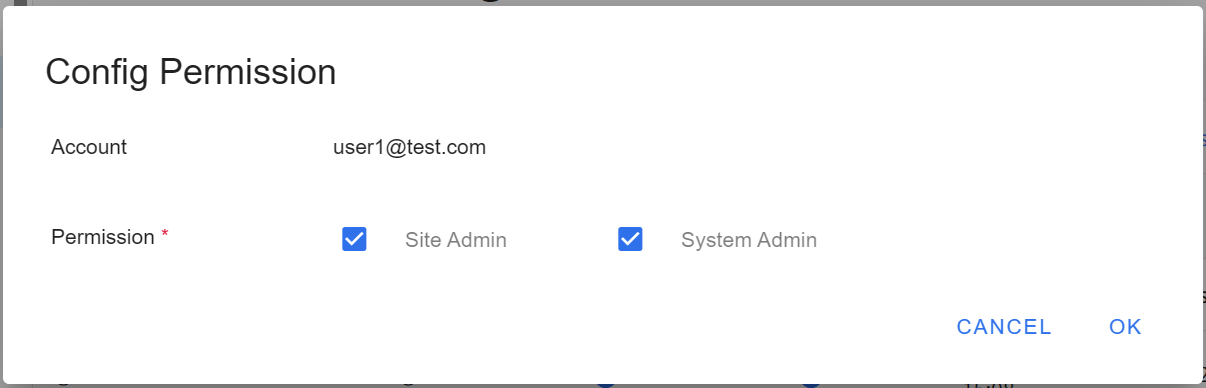
Config permission
- Click the more options icon on the right side of the list, then click Config Permission. Click OK when you're finished making changes.
Delete
- Click the more options icon on the right side of the list, then click Delete.