Virtual Volume
The Virtual Volume service expands a virtual machine’s storage space by creating a virtual volume, linking it to the virtual machine, and initializing the disk for use. You can attach multiple virtual volumes to a virtual machine, or detach a virtual volume from a virtual machine and attach it to another virtual machine.
Create a virtual volume
- Select Virtual Volume from the Services list. After entering the Virtual Volume Management page, click + CREATE.
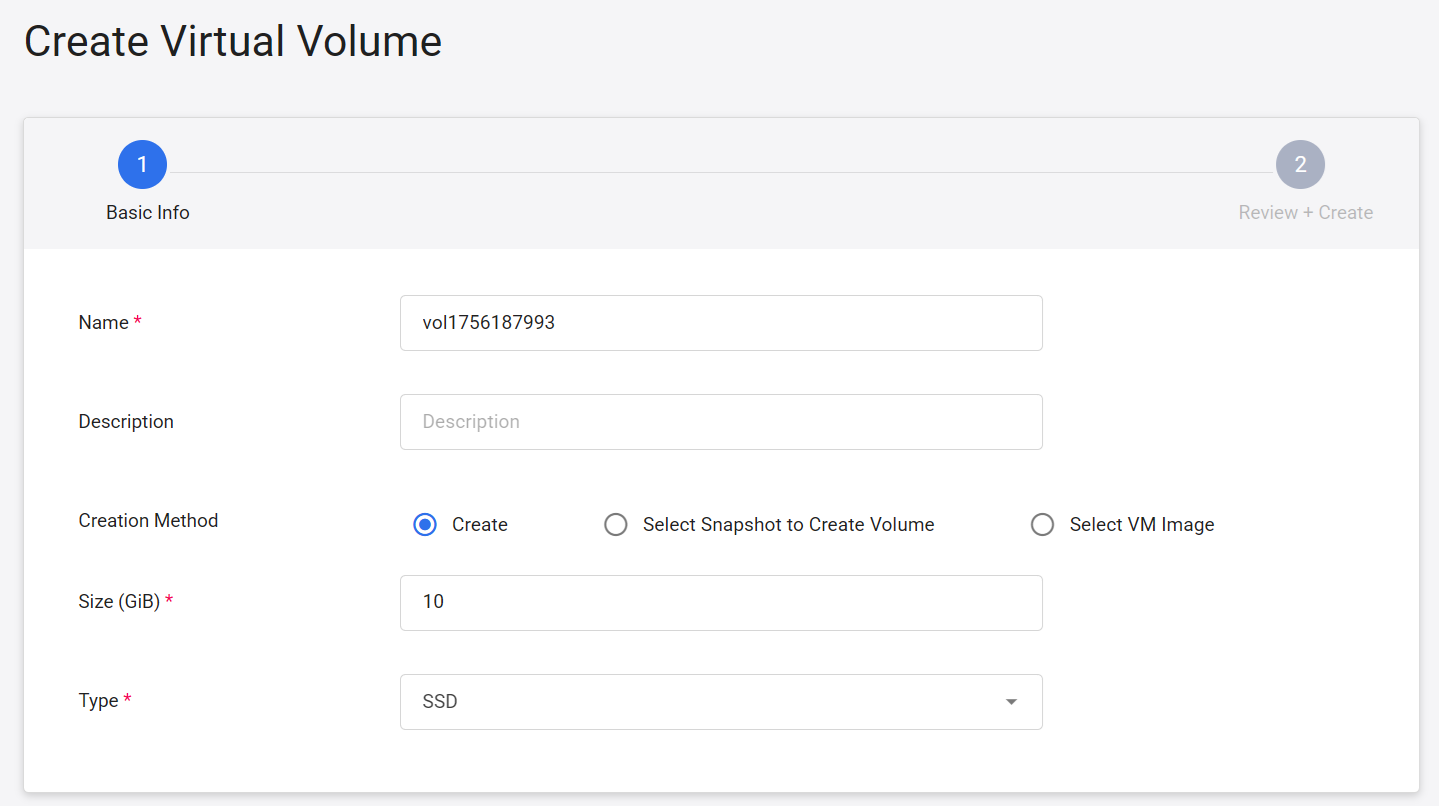
1. Basic settings
- Name: Enter a name.
- Description: Enter a description.
- Creation Method: Select Create, Select Snapshot to Create Volume or Select VM Image.
- If you choose Create, you need to set the size and disk type.
- If you choose Select Snapshot to Create Volume, then you need to select the snapshot source from the Snapshot drop-down menu.
- If you select Select VM, you will then need to select the VM image, version, size and disk type.
- Then click NEXT: REVIEW + CREATE >.
The maximum capacity of a single volume is 64 TiB.
2. Review + Create
- Check the creation settings and click CREATE after confirmation.
Manage virtual volumes
-
Once the virtual volume is created, it appears in the list. Click the list to view the detailed information of the service. When the state of the virtual disk is displayed as
available, you can start using it. -
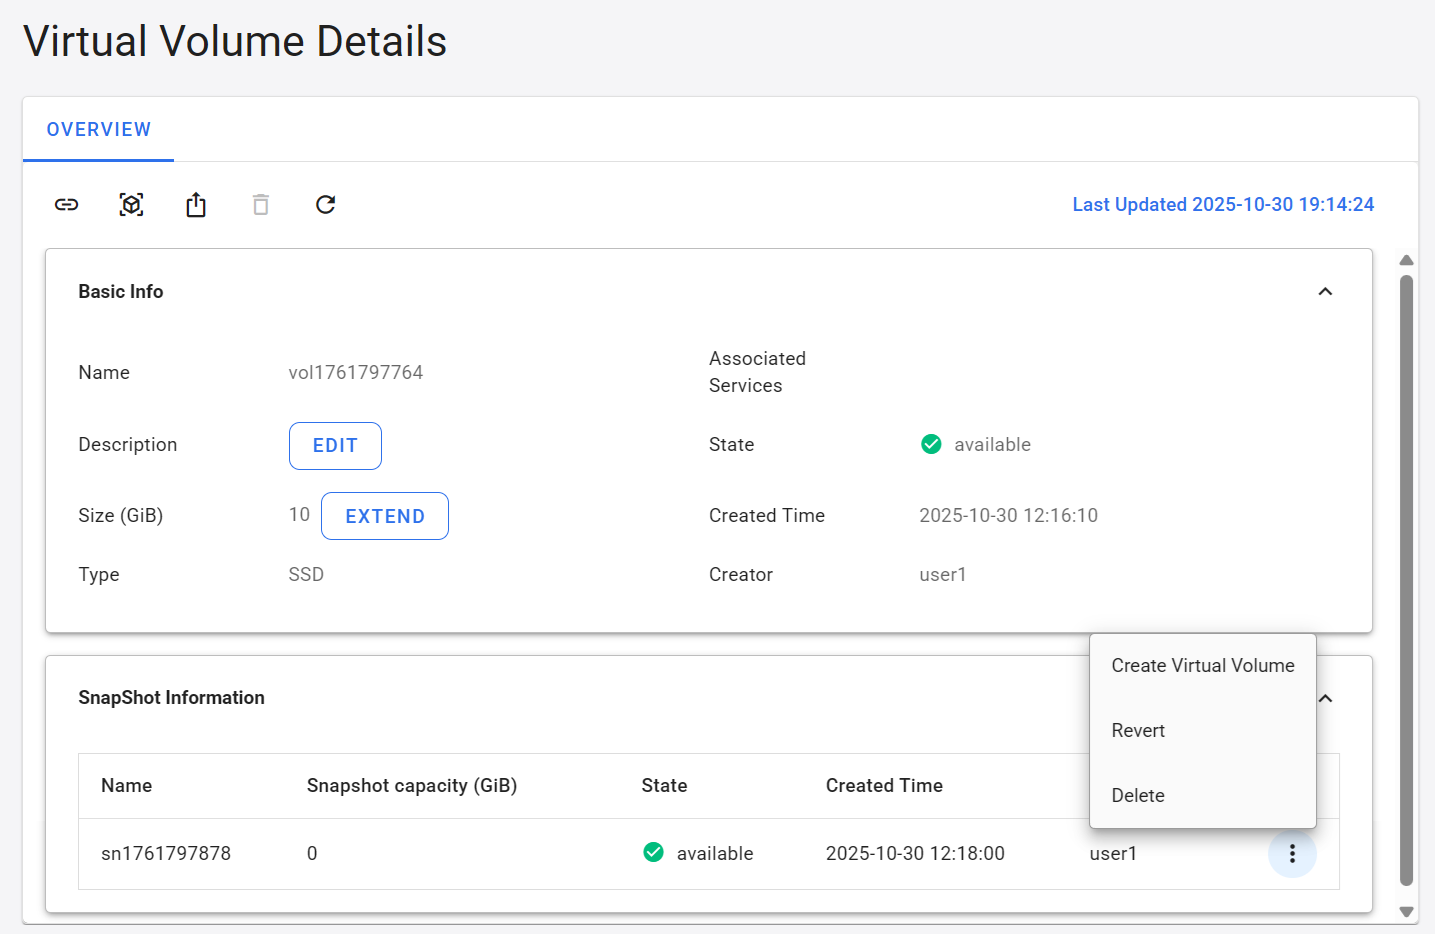
Click the more options icon to the right of the list to perform Associate, Snapshot, Copy ID, Export or Delete.
-
Enter the virtual volume details page to view the virtual volume's details, edit the description, expand the capacity, or execute Associate/Disconnect, Snapshot, Export, Delete and Refresh through the command bar above.
Expand capacity
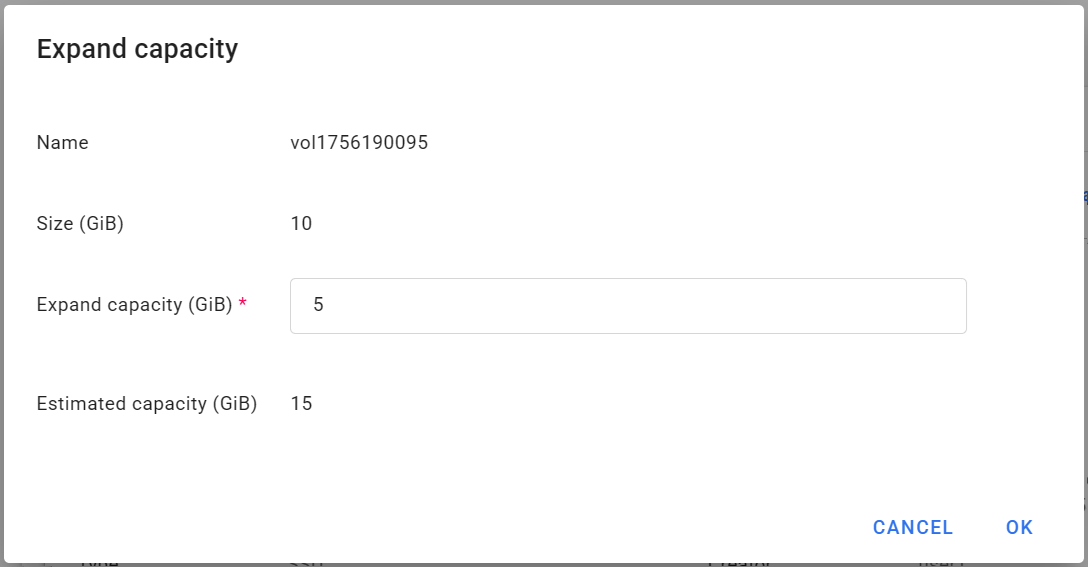
- Click EXTEND on the right side of the capacity, enter the expand capacity and click OK.
Associate virtual machine
- Click the Associate icon on the command bar above.

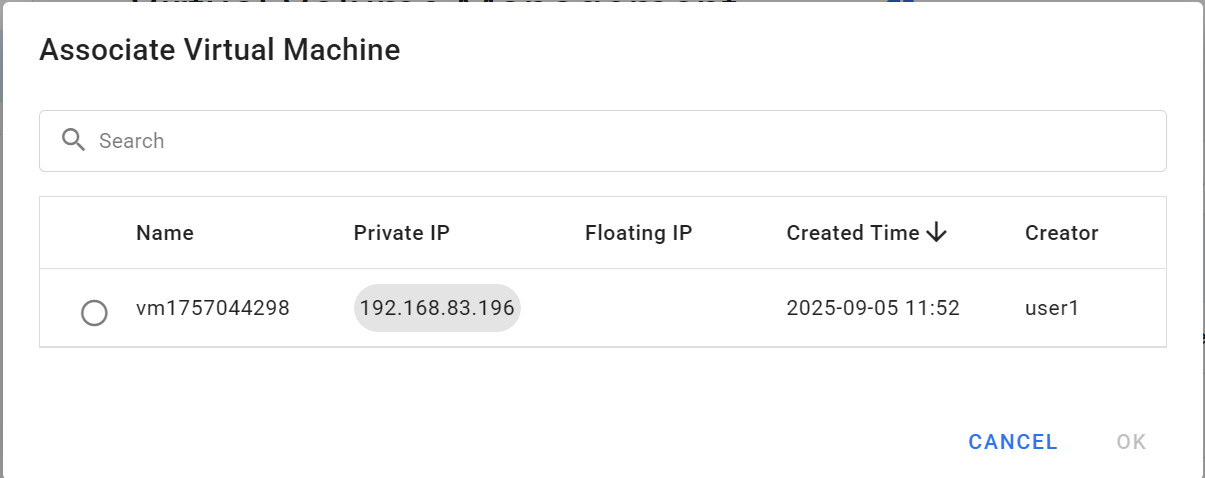
- Select the virtual machine you want to connect to, and click OK when done.
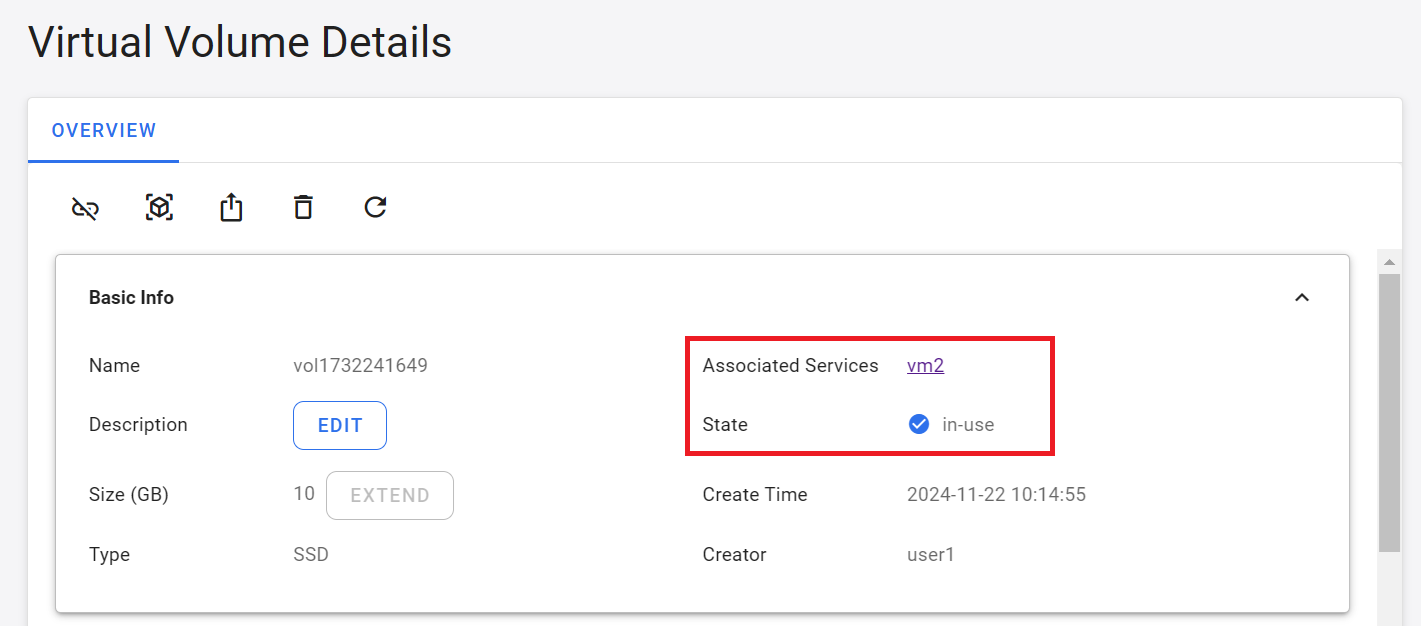
- Once associated, the service will be displayed as associated. When the state is displayed as
in-use, you can start using it.
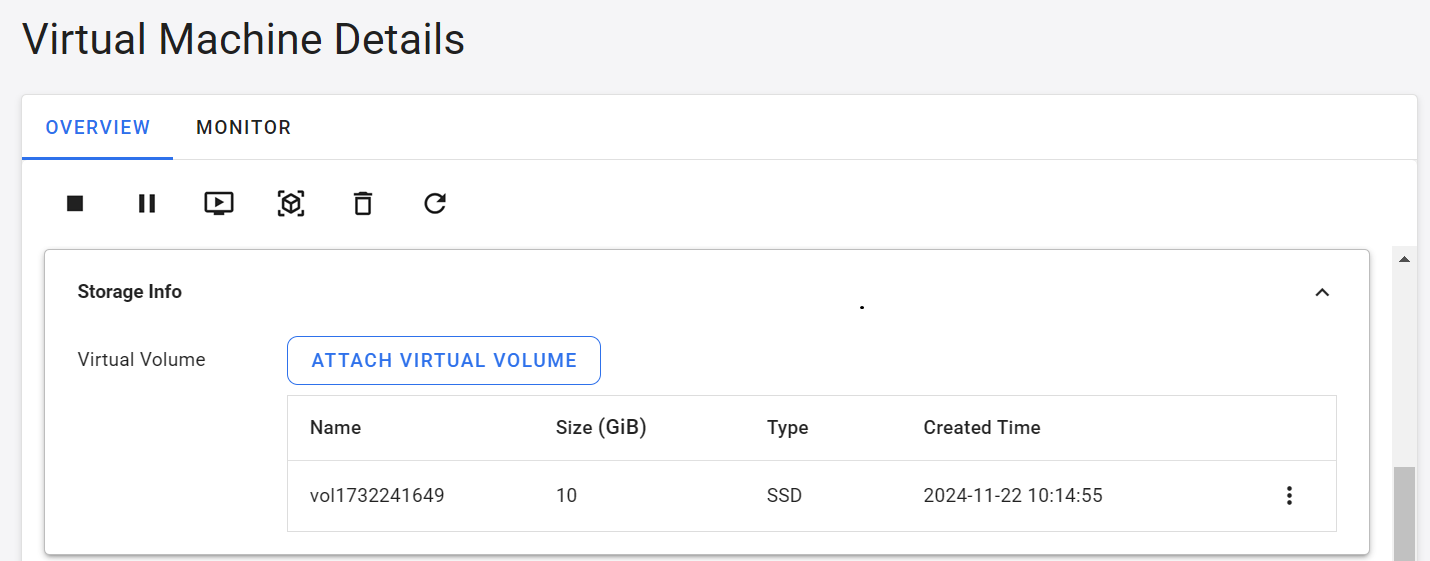
- The storage information at the bottom of the virtual machine details page will also display the connected virtual volume.
After the newly created virtual volume is connected to the virtual machine, please initialize it according to the required file system before using it.
ng)### Detach a virtual volume
- If you need to delete a virtual volume or connect it to another virtual machine, you must first detach the volume from the connected virtual machine.
Before detaching a virtual volume, please unmount the disk in the virtual machine first.
- Method 1: Go to the virtual volume's details page and click the Detach icon on the top command bar.

- Method 2: From the Storage Information at the bottom of the virtual machine details page, click Detach from the more options menu on the right side of the linked virtual volume.
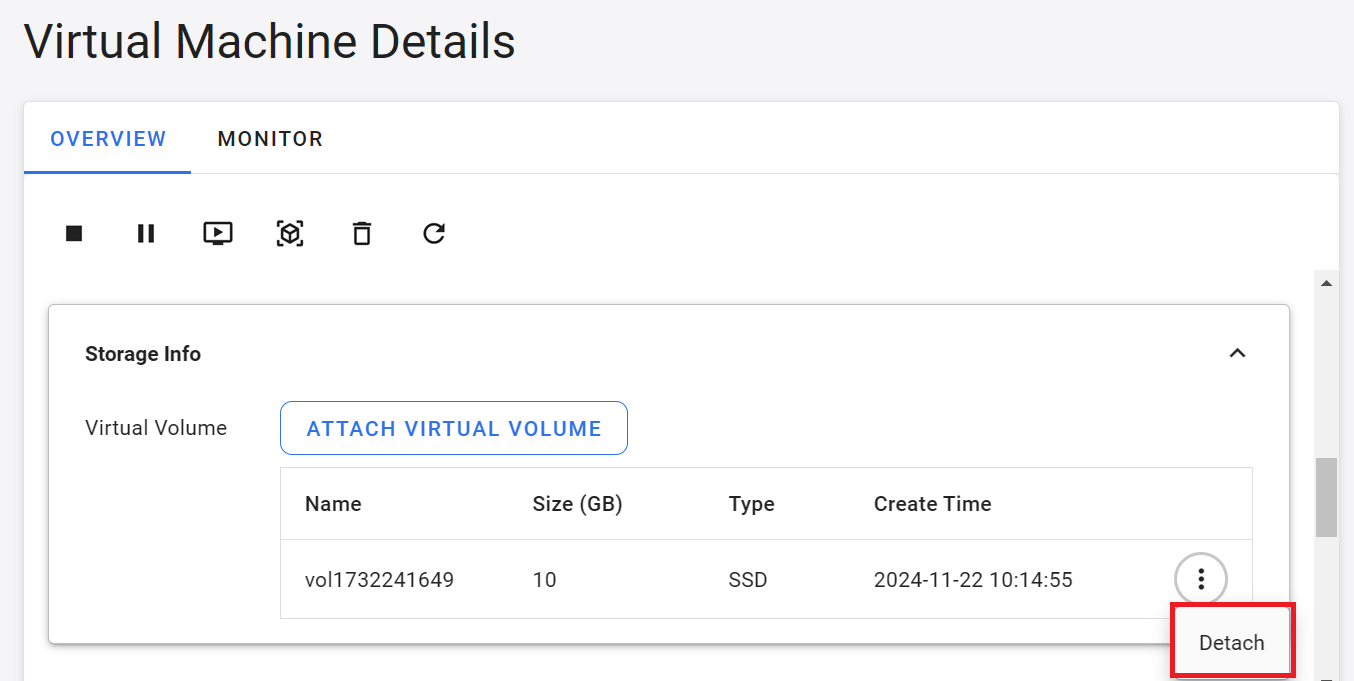
- The disk is complete when its state changes from
in-usetoavailable.
Delete
- Click the Delete icon on the command bar, then click OK.
- Before deleting a virtual volume, please note that once the disk is deleted, it cannot be recovered.
- If the state of the virtual volume is
in-use, you must first detach the disk from the virtual machine and wait for the state to becomeavailablebefore deleting it. - If a snapshot of the virtual volume exists, it cannot be deleted. Please delete the disk snapshot first, and then delete the virtual disk.
Snapshot
Create a snapshot for the virtual volume to back up the data.
- Enter the virtual volume details page and click Snapshot icon on the top command bar.

- In the Create window, enter a name and description then click OK.
Manage snapshots
-
Once a snapshot is created, a snapshot list appears at the bottom of the virtual volume details page, showing the creation information and state of the virtual volume snapshot. When the disk snapshot state is displayed as
available, you can start using it. -
Click the more options icon on the right side of the list to perform Create Virtual Volume, Revert or Delete.
- Create Virtual Volume: Use the snapshot to create a new virtual volume.
- Revert: Use the snapshot to restore the contents of the virtual volume. Only the latest snapshot can be Revert.
- Delete: Delete the snapshot.
Export a virtual volume
Export the virtual volume as an incremental VM image file.
- Go to the virtual disk details page and click Export in the command bar at the top.

- Enter the file name and version, then click OK.
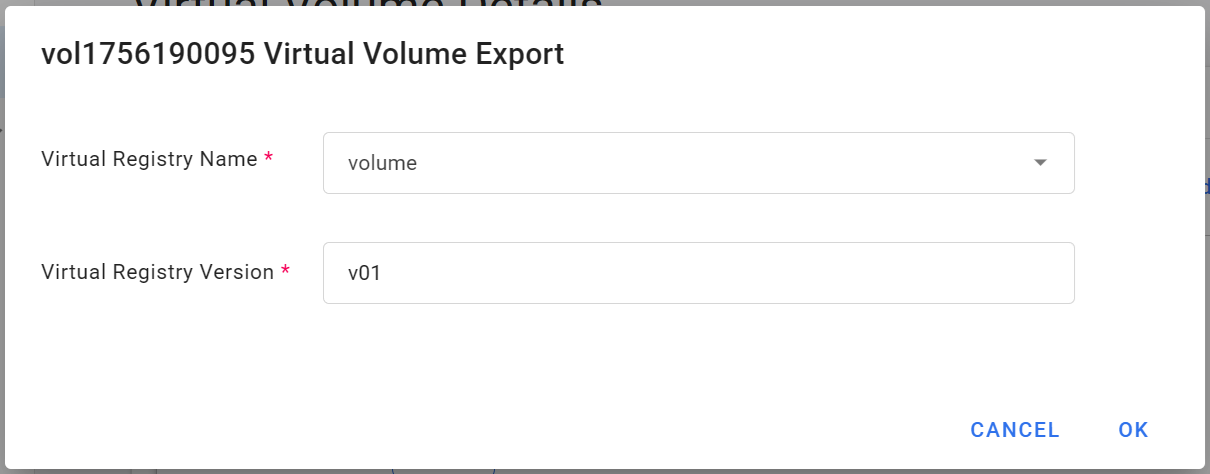
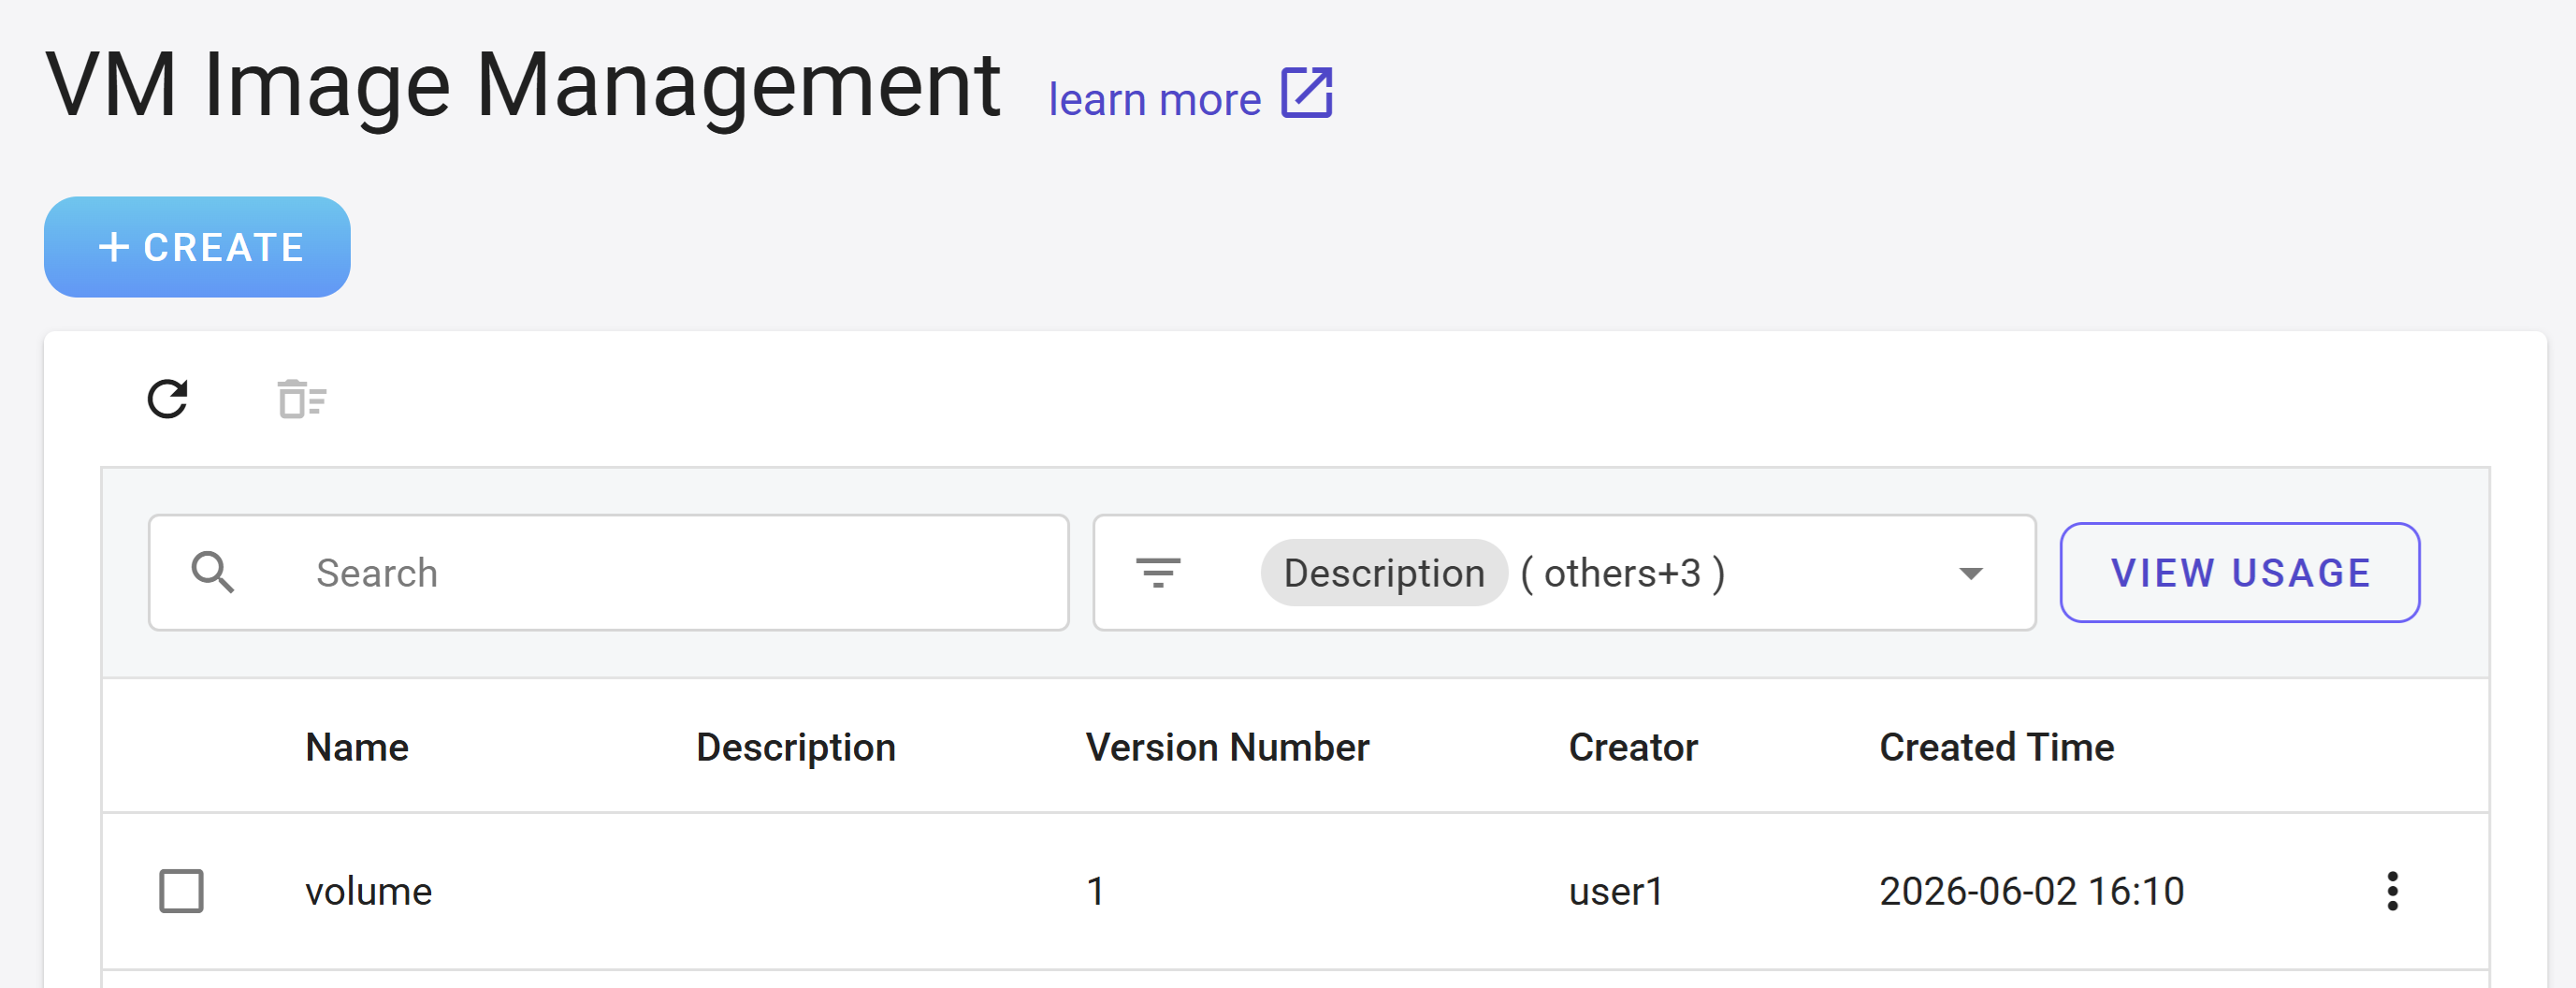
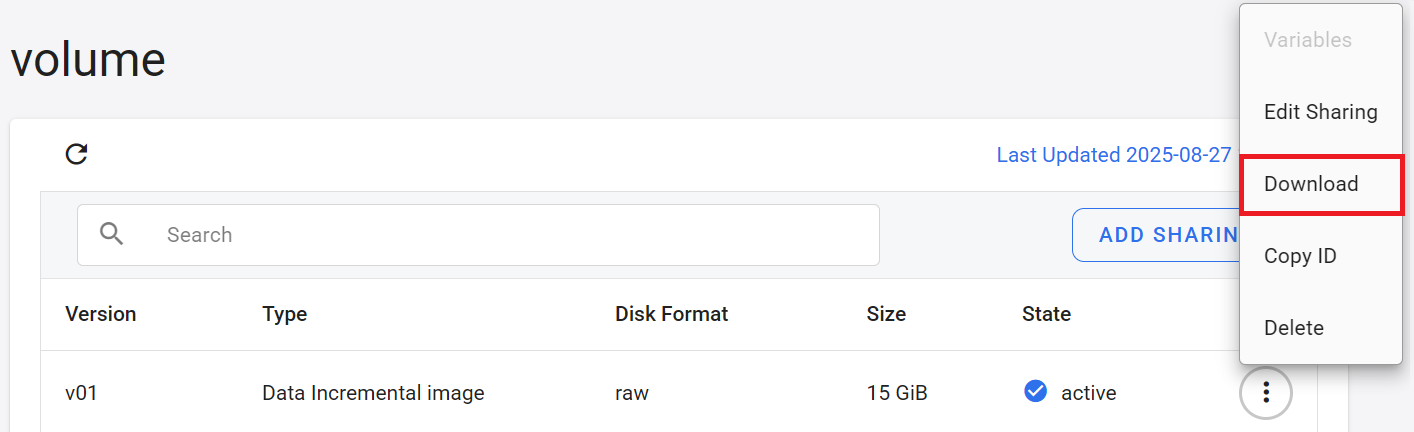
- The exported virtual volume image file is stored in the VM Service. You can download it to Data Storage using the Download function, or select the exported image in the Create Virtual Volume window to create a new virtual volume